一、 简介
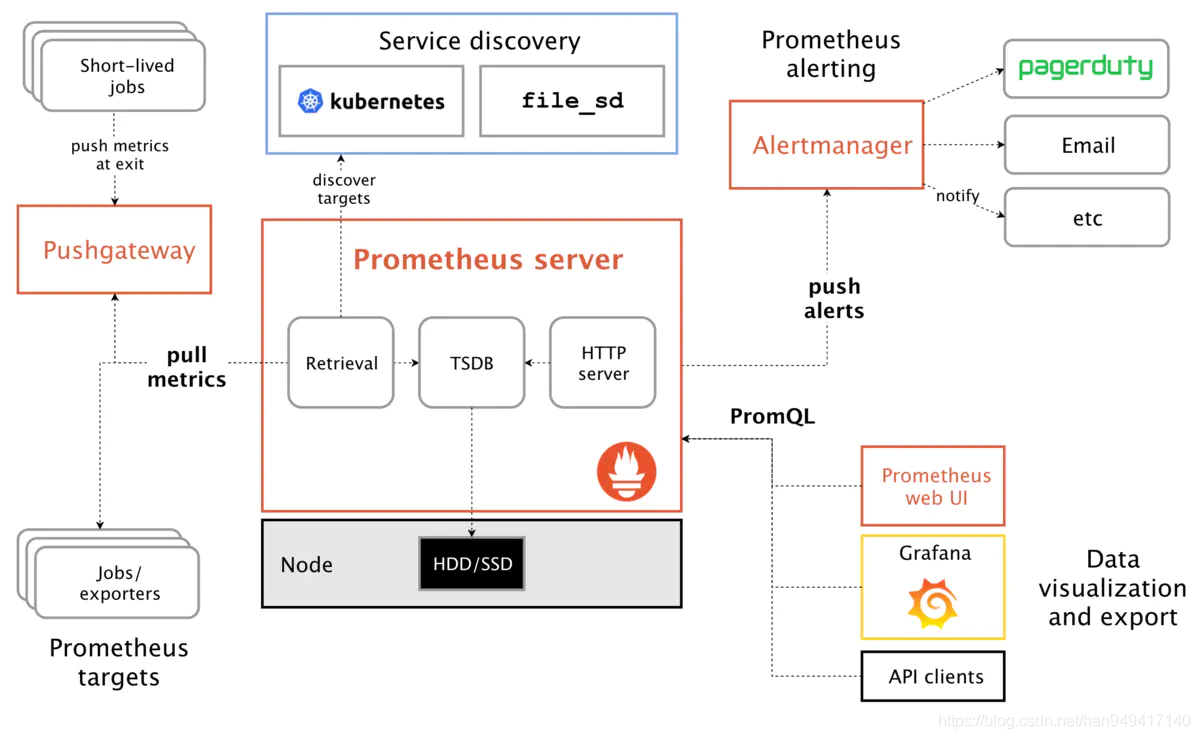
prometheus配置文件 prometheus.yml 里配置需要监听的服务时,是按服务名写死的,如果后面增加了节点或者组件信息,就得手动修改此配置,并重启 promethues;那么能否动态的监听微服务呢?Prometheus 提供了多种动态服务发现的功能,这里以 consul 为例。
二、引入 consul 的好处
在没有使用 consul 服务自动发现的时候,我们需要频繁对 Prometheus 配置文件进行修改,无疑给运维人员带来很大的负担。引入consul之后,只需要在consul中维护监控组件配置,prometheus就能够动态发现配置了。
三、Prometheus 支持的多种服务发现机制
1
2
3
4
5
6
7
8
9
|
#Prometheus数据源的配置主要分为静态配置和动态发现, 常用的为以下几类:
1)static_configs: #静态服务发现
2)file_sd_configs: #文件服务发现
3)dns_sd_configs: DNS #服务发现
4)kubernetes_sd_configs: #Kubernetes 服务发现
5)consul_sd_configs: Consul #服务发现
...

#在监控kubernetes的应用场景中,频繁更新的pod,svc,等等资源配置应该是最能体现Prometheus监控目标自动发现服务的好处
|
四、安装单节点consul
下载consul文件
https://www.consul.io/downloads
 1
 2
 3
 4
 5
 6
 7
 8
 9
10
11
|
解压

移动

给权限

查看版
consul --version
Consul v1.10.1
Revision db839f18b
Protocol 2 spoken by default, understands 2 to 3 (agent will automatically use protocol >2 when speaking to compatible agents)
|
数据持久化
1
|
mkdir -p /app/consul/data
|
启动命令
1
2
|
启动命令
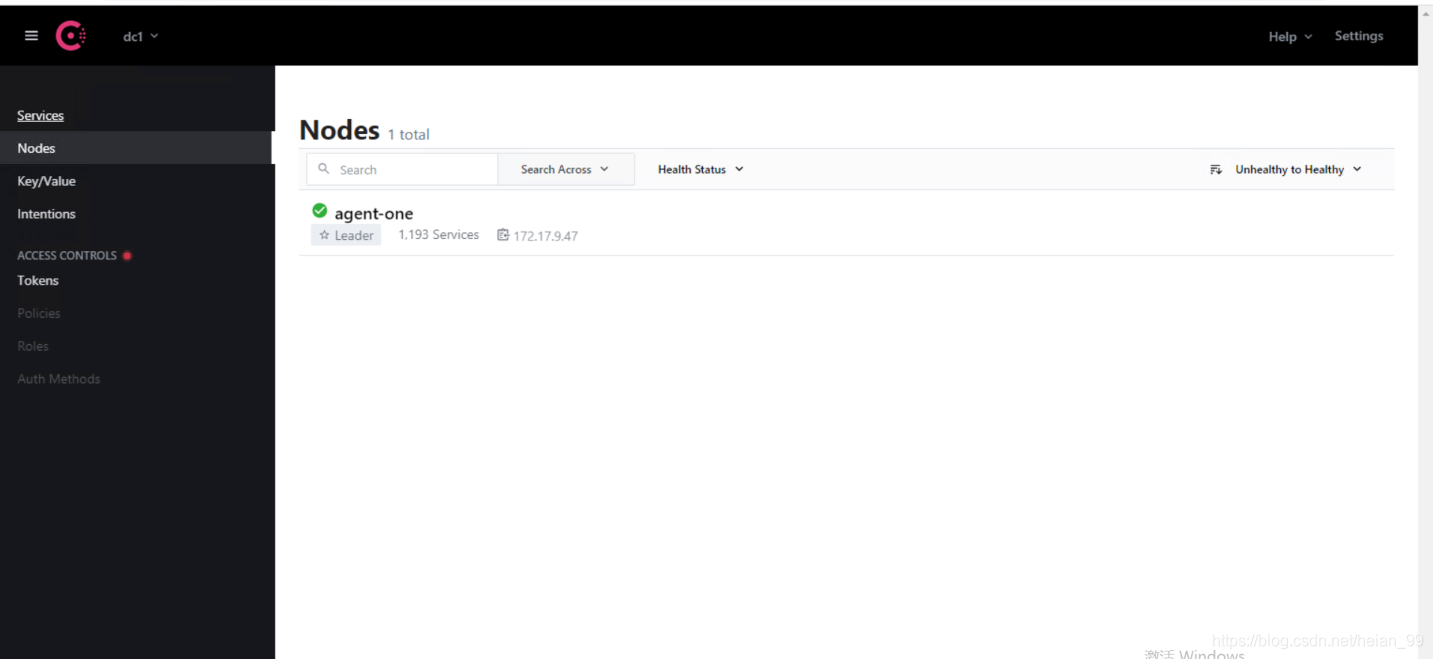
nohup consul  agent -server -data-dir=/app/consul/data  -node=agent-one -bind=172.17.9.47 -bootstrap-expect=1 -client=0.0.0.0 -ui > /app/consul/consul.log 2>&1 &
|
简单单机版已经完成。
复杂点的有集群版,账号口令认证等等,相关参考文档
https://www.k8stech.net/post/prom-discovery-consul/
大佬版本讲解真的是好


五、注册主机到consul
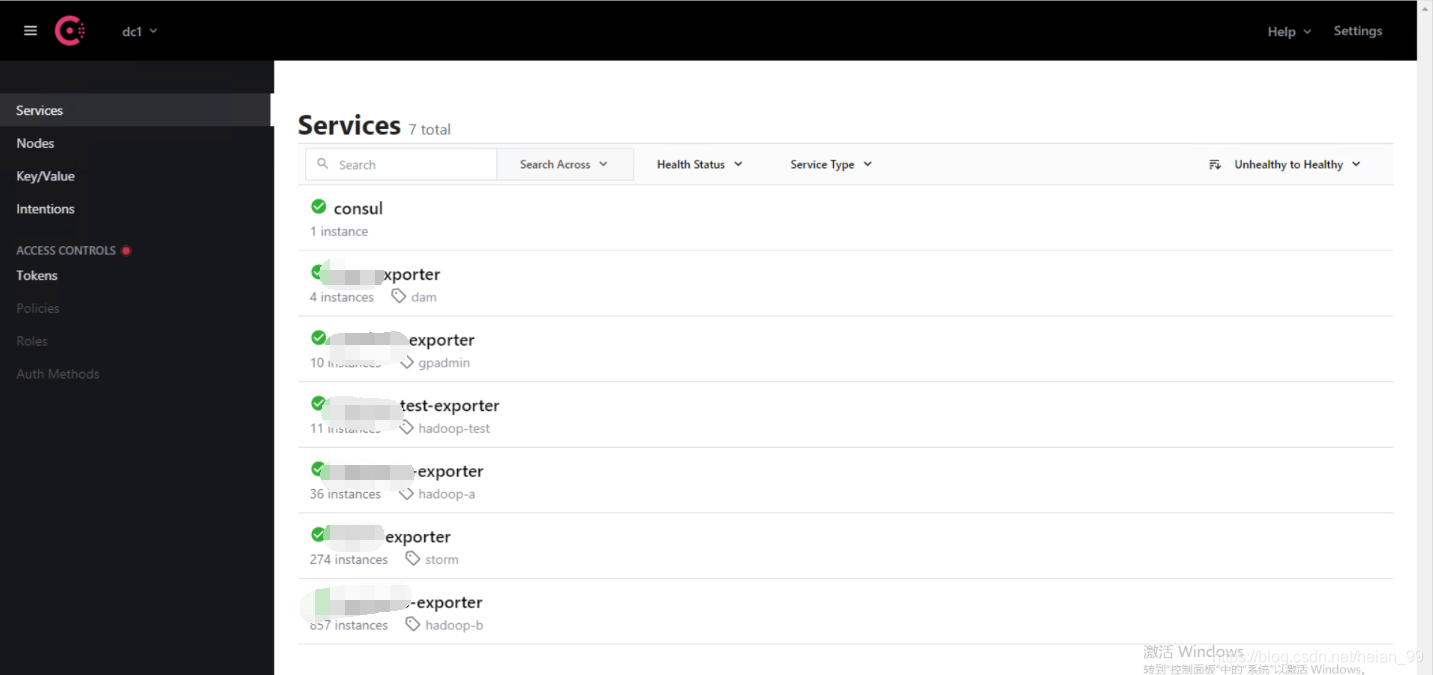
由于机器比较多,需要批量添加
consul主要是添加和删除命令,都是使用接口调用
1
2
3
4
5
6
|
删除
curl -X PUT http://172.17.9.47:8500/v1/agent/service/deregister/dam02


添加
 curl -X PUT -d '{"id": "'${host_name}'","name": "node-exporter","address": "'${host_addr}'","port":9100,"tags": ["dam"],"checks": [{"http": "http://'${host_addr}':9100/","interval": "5s"}]}' http://172.17.9.47:8500/v1/agent/service/register
|
批量添加可以使用下面脚本
1
2
3
4
|
hosts文件格式

dam01  172.17.8.227
dam02  172.17.8.228
|
1
2
3
4
5
6
|
$ cat registry.sh    # 脚本内容如下
#!/bin/bash
while read host_name host_addr
do
    curl -X PUT -d '{"id": "'${host_name}'","name": "node-exporter","address": "'${host_addr}'","port":9100,"tags": ["dam"],"checks": [{"http": "http://'${host_addr}':9100/","interval": "15s"}]}' http://172.17.9.47:8500/v1/agent/service/register
done < hosts
|
执行这个脚本,就可以批量添加主机到consul里面去。
六、配置prometheus自动发现
 1
 2
 3
 4
 5
 6
 7
 8
 9
10
11
12
13
14
15
16
17
18
19
20
21
22
23
24
25
26
|
cat  /usr/local/prometheus/prometheus.yml

#类似下面格式  这个server为consul的地址,根据标签匹配组
  - job_name: 'dam-exporter'
    consul_sd_configs:
    - server: 'localhost:8500'
      services: [dam-exporter]


#复杂一点,需要正则表达式
  - job_name: dam-exporter
    honor_labels: true
    metrics_path: /metrics
    scheme: http
    consul_sd_configs:
      - server: 172.17.9.47:8500
        services: [dam-exporter]
    relabel_configs:
    - source_labels: ['__meta_consul_tags']
      target_label: 'product'
    - source_labels: ['__meta_consul_dc']
      target_label: 'idc'
    - source_labels: ['product']
      regex: ",dam-exporter,"
      action: keep
|

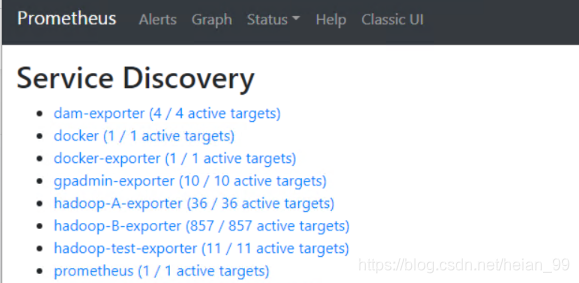
重启prometheus就自动发现成功,并且可以采集数据。


