目录
Linux搭建LAMP(Apache+PHP+Mysql环境)Centos7
一、 检查系统环境
1、确认centos版本
2、检查是否安装过apache
3、检查是否安装过Mysql
4、清理Mysql痕迹
5、卸载Apache包
二、安装Apache、PHP、Mysql
1、安装apache
2、安装Php
3、安装php-fpm
4、安装Mysql
5、安装 mysql-server
6、安装 php-mysql
三、安装基本常用扩展包
1、安装Apache扩展包
2、安装PHP扩展包
3、安装Mysql扩展包
四、配置Apache、mysql开机启动
五、配置Mysql
六、测试环境
Linux搭建LAMP(Apache+PHP+Mysql环境)Centos7
LAMP是指一组通常一起使用来运行动态网站或者服务器的自由软件名称首字母缩写:
一、 检查系统环境
1、确认centos版本
1
2
|
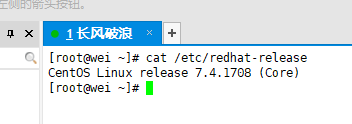
[root@wei ~]# cat /etc/redhat-release
CentOS Linux release 7.4.1708 (Core)
|
2、检查是否安装过apache
1
2
|
[root@wei ~]# rpm -qa |grep httpd
|
或者:
apachectl -v
或者:
httpd -v
3、检查是否安装过Mysql
1
2
|
[root@wei ~]# rpm -qa | mysql
|
4、清理Mysql痕迹
1
2
3
4
5
|
[root@wei ~]# yum remove mysql
已加载插件:fastestmirror
参数 mysql 没有匹配
不删除任何软件包
[root@wei ~]# rm -rf /etc/my.cnf
|
5、卸载Apache包
1
|
[root@wei ~]# rpm -e httpd --nodeps
|
注意:如果是新的系统或者你从来没有尝试安装过,则以上步骤省略。
二、安装Apache、PHP、Mysql
1、安装apache
1
|
[root@wei ~]# yum install httpd -y
|
直到返回
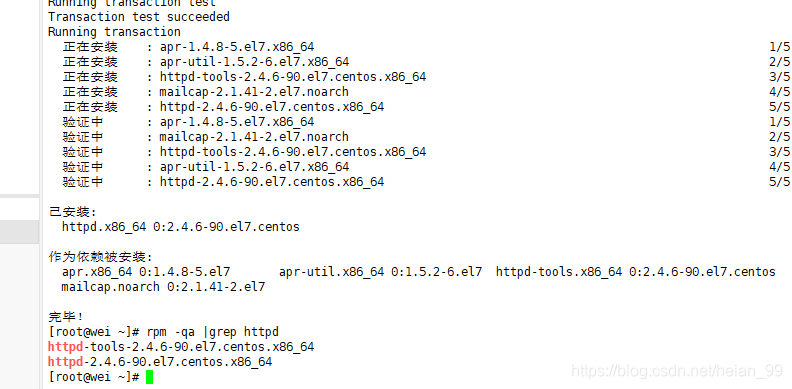
安装完成
查看安装httpd
1
2
3
|
[root@wei ~]# rpm -qa |grep httpd
httpd-tools-2.4.6-90.el7.centos.x86_64
httpd-2.4.6-90.el7.centos.x86_64
|
表示安装成功!
2、安装Php
[root@localhost ~]# yum -y install php
直到返回:
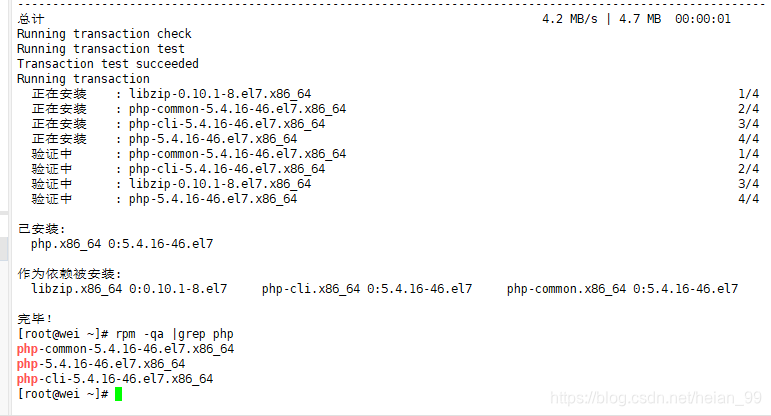
查看安装php的软件
1
2
3
4
|
[root@wei ~]# rpm -qa |grep php
php-common-5.4.16-46.el7.x86_64
php-5.4.16-46.el7.x86_64
php-cli-5.4.16-46.el7.x86_64
|
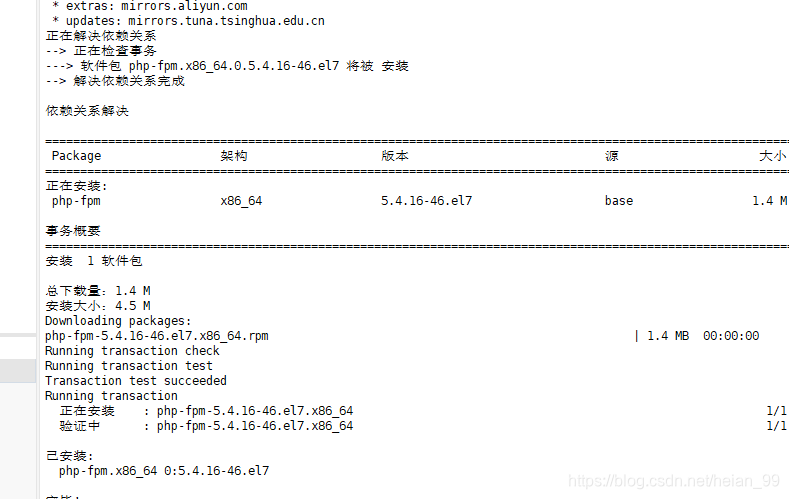
3、安装php-fpm
1
|
[root@wei ~]# yum -y install php-fpm
|
直到返回:
4、安装Mysql
1
|
[root@wei ~]# yum -y install mysql
|
直到返回:
Complete!
7.2版本的Centos已经把mysql更名为mariadb,表示安装成功!
5、安装 mysql-server
1
2
3
4
5
6
7
8
|
[root@wei ~]# yum -y install mysql-server
已加载插件:fastestmirror
Loading mirror speeds from cached hostfile
 * base: mirrors.aliyun.com
 * extras: mirrors.aliyun.com
 * updates: mirrors.tuna.tsinghua.edu.cn
没有可用软件包 mysql-server。
错误:无须任何处理
|
返回错误!!!
分析解决方案
- CentOS 7+ 版本将MySQL数据库软件从默认的程序列表中移除,用mariadb代替了,entos7配置教程上,大多都是安装mariadb,因为centos7默认将mariadb视作mysql。
- 因为mysql被oracle收购后,原作者担心mysql闭源,所以又写了一个mariadb,这个数据库可以理解为mysql的分支。如果需要安装mariadb,只需通过yum就可。
有两种解决方案:
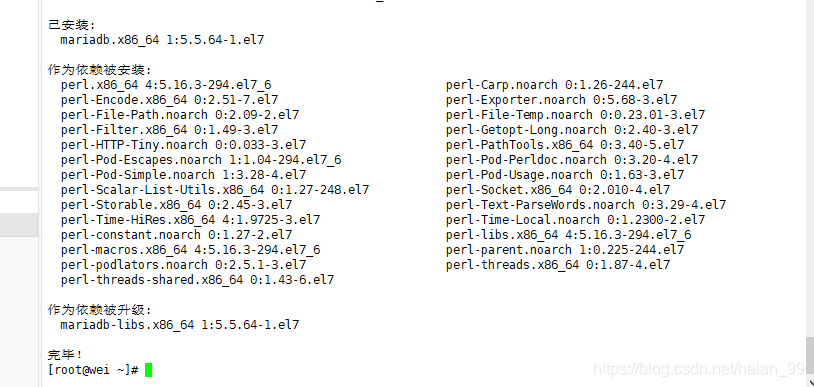
一是安装mariadb
[root@localhost ~]# yum install -y mariadb
二是从官网下载mysql-server
采用第二种方案:
1
|
[root@wei ~]# wget http://dev.mysql.com/get/mysql-community-release-el7-5.noarch.rpm
|
1
|
[root@wei ~]# rpm -ivh mysql-community-release-el7-5.noarch.rpm
|
1
|
[root@wei ~]# yum -y install wget
|
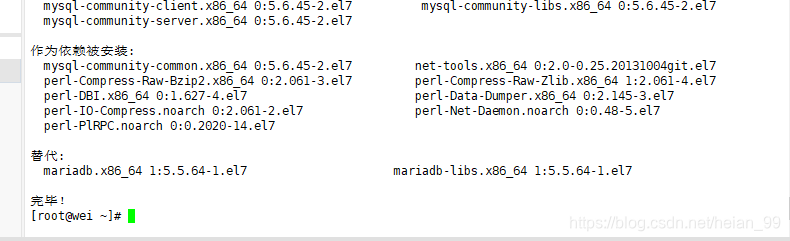
下载中…….
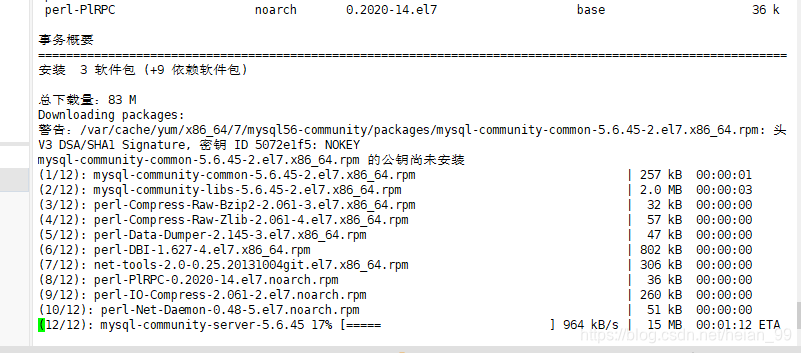
安装成功!!!
6、安装 php-mysql
1
|
[root@wei ~]# yum -y install php-mysql
|
直到返回:
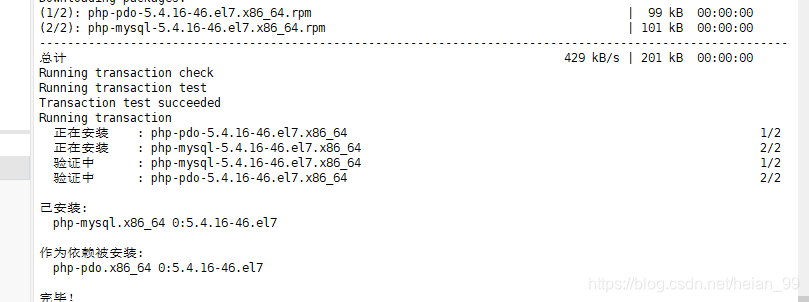
安装成功!!!
三、安装基本常用扩展包
1、安装Apache扩展包
1
|
[root@wei ~]# yum -y install httpd-manual mod_ssl mod_perl mod_auth_mysql
|
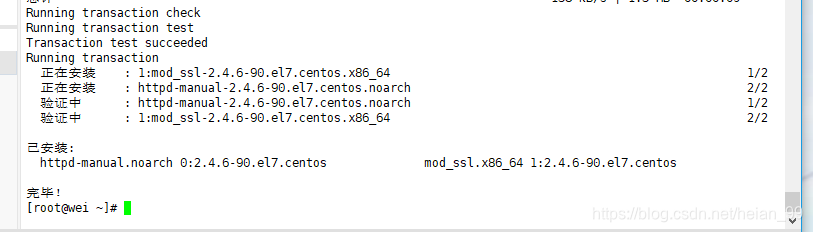
安装成功!!!
2、安装PHP扩展包
1
|
[root@wei ~]# yum -y install php-gd php-xml php-mbstring php-ldap php-pear php-xmlrpc php-devel
|
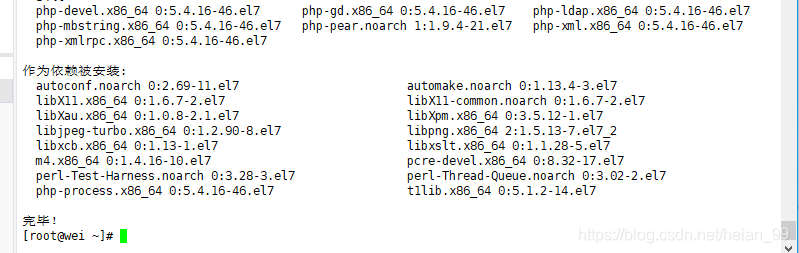
安装成功!!!
3、安装Mysql扩展包
1
|
[root@wei ~]# yum -y install mysql-connector-odbc mysql-devel libdbi-dbd-mysql
|
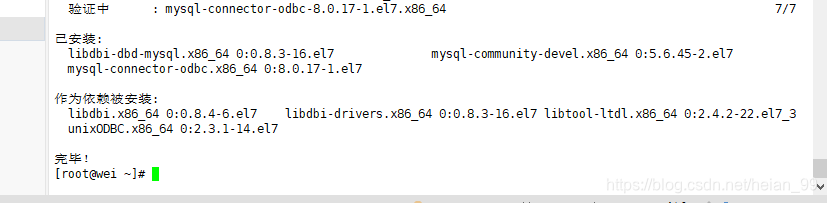
安装成功!!!
四、配置Apache、mysql开机启动
重启Apache、mysql服务(注意这里和centos6有区别,Cenots7+不能使用6的方式)
systemctl start httpd.service #启动apache
systemctl stop httpd.service #停止apache
systemctl restart httpd.service #重启apache
systemctl enable httpd.service #设置apache开机启动
如果是采用方法一安装的mariadb,安装完成以后使用下面的命令开启数据库服务:
#启动MariaDB
1
|
[root@wei~]# systemctl start mariadb.service
|
#停止MariaDB
1
|
[root@wei~]# systemctl stop mariadb.service
|
#重启MariaDB
1
|
[root@wei~]# systemctl restart mariadb.service
|
#设置开机启动
1
|
[root@wei~]# systemctl enable mariadb.service
|
重启对应服务
service mysqld restart
service php-fpm start
service httpd restart
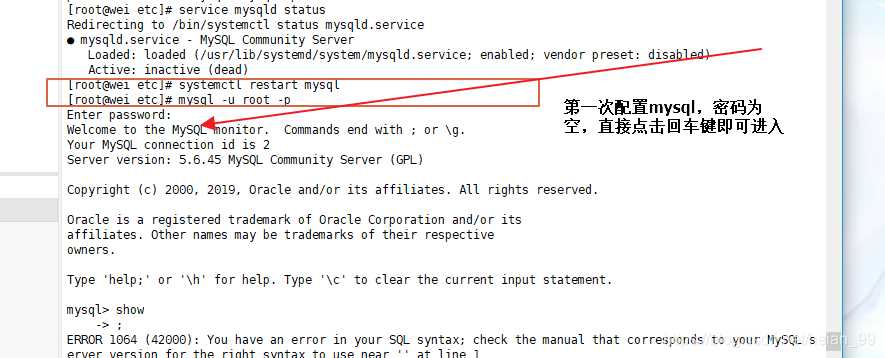
五、配置Mysql
注意:要启动mysql才能进去
初次安装mysql是没有密码的,我们要设置密码,mysql的默认账户为root
设置 MySQL 数据 root 账户的密码:
1
|
[root@wei etc]# mysql -u root -p
|
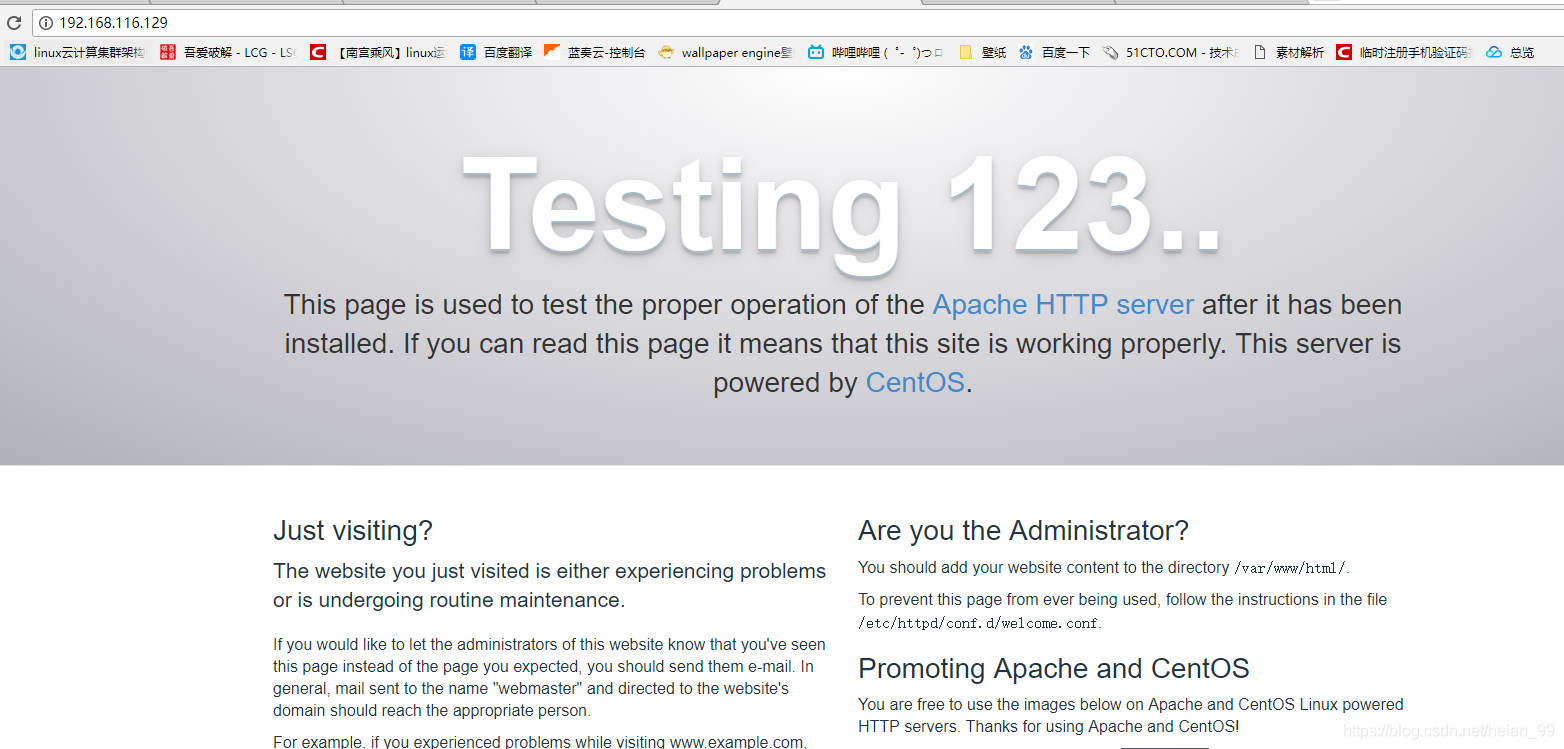
六、测试环境
注意:要启动httpd才能进去
1、我们在浏览器地址栏输入http://localhost/如下图,说明我们的apache测试成功
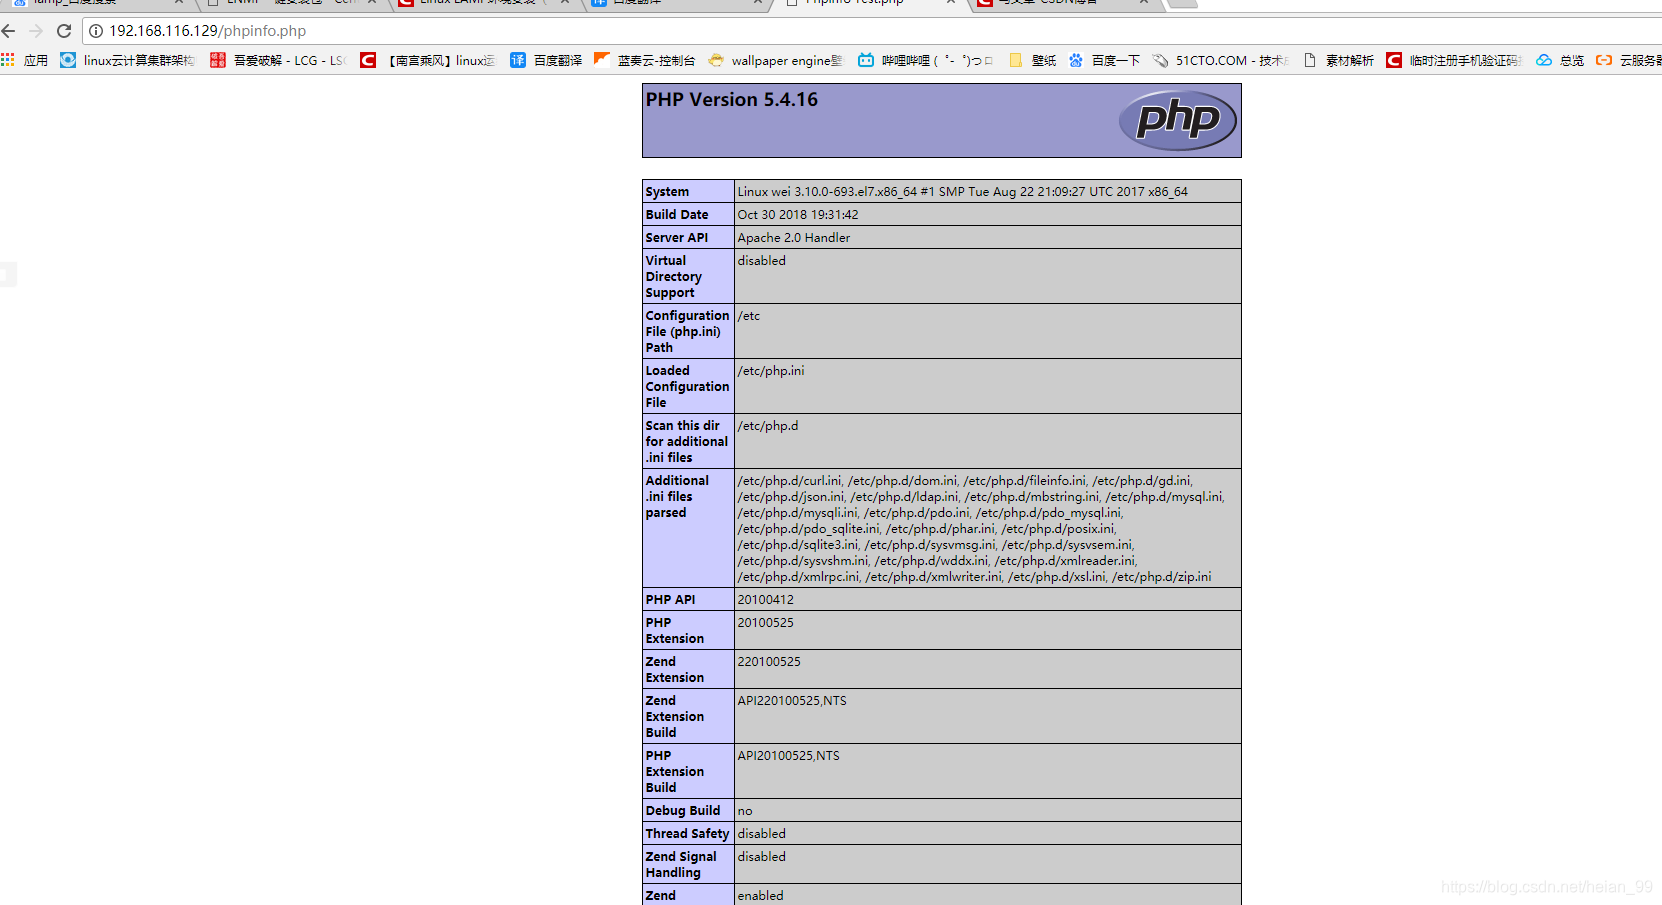
2、测试PHP
进入apache的web根目录:/var/www/html 中写一个最简单的php测试页面
1
2
|
[root@wei ~]# cd /var/www/html/
[root@wei html]# vi phpinfo.php
|
3、进入到了控制模式之后按键盘字母 i 进入到编辑模式,将如下代码输入到文件中
1
2
3
4
|
<?php
echo "<title>Phpinfo Test.php</title>";
phpinfo()
?>
|
按 esc 退出编辑模式,回到控制模式,输入 :wq 然后回车,
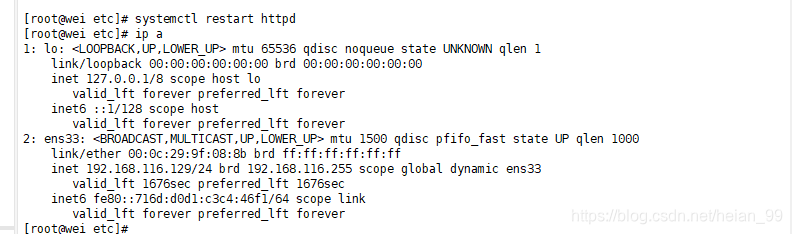
重启apache服务器
1
|
[root@wei html]# systemctl restart httpd
|
在浏览器中输入服地址http://localhost/phpinfo.php
出现下图则成功。