spring框架
Spring框架是由于软件开发的复杂性而创建的。Spring使用的是基本的JavaBean来完成以前只可能由EJB完成的事情。然而,Spring的用途不仅仅限于服务器端的开发。从简单性、可测试性和松耦合性角度而言,绝大部分Java应用都可以从Spring中受益。
◆目的:解决企业应用开发的复杂性
◆功能:使用基本的JavaBean代替EJB,并提供了更多的企业应用功能
◆范围:任何Java应用
Spring是一个轻量级控制反转(IoC)和面向切面(AOP)的容器框架。
优点
◆JAVA EE应该更加容易使用。
◆面向对象的设计比任何实现技术(比如JAVA EE)都重要。
◆面向接口编程,而不是针对类编程。Spring将使用接口的复杂度降低到零。(面向接口编程有哪些复杂度?)
◆代码应该易于测试。Spring框架会帮助你,使代码的测试更加简单。
◆JavaBean提供了应用程序配置的最好方法。
◆在Java中,已检查异常(Checked exception)被过度使用。框架不应该迫使你捕获不能恢复的异常。
IDEA使用maven搭建spring项目
idea建立spring项目相当方便 , 可以自动生成spring配置文件 , 和自动导入Spring所需jar包.
File—>new—>project—>Maven
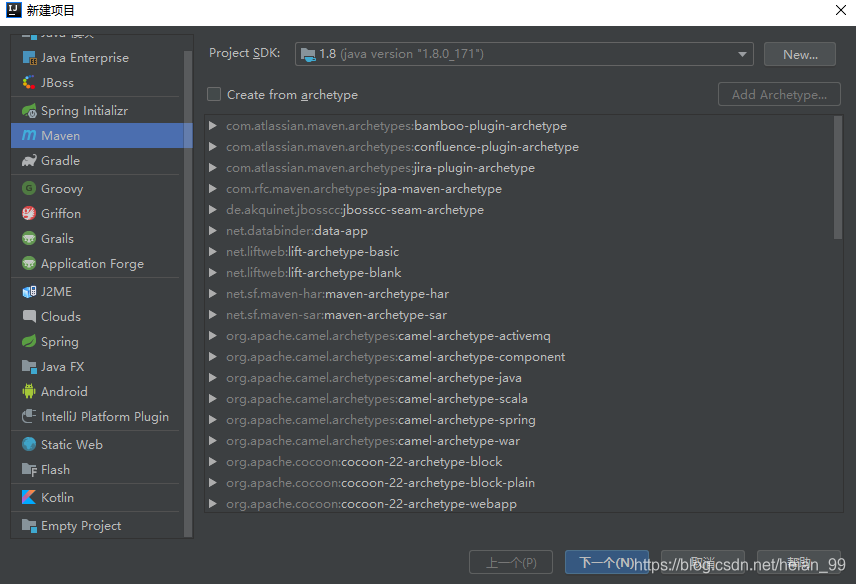
选择本地的jdk,下一步
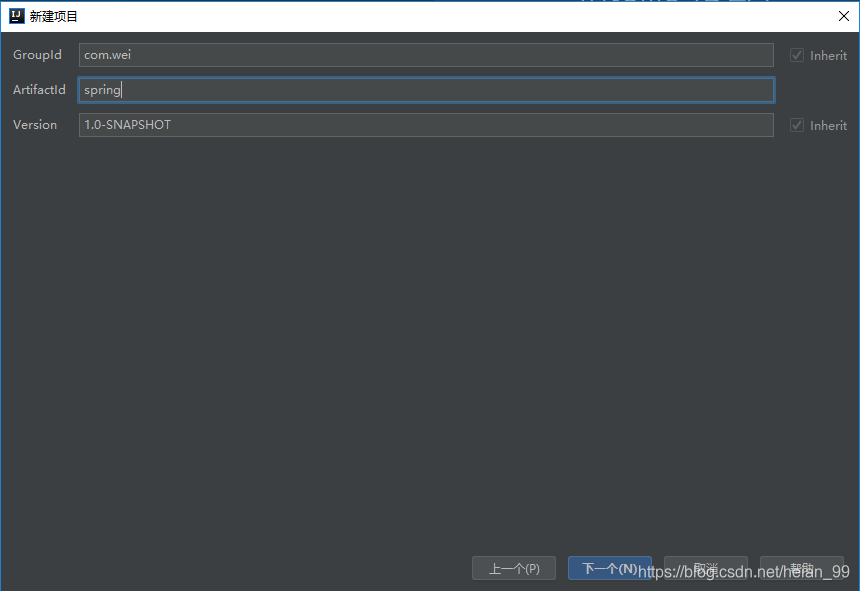
可以根据自己需求填写(没有什么限制)
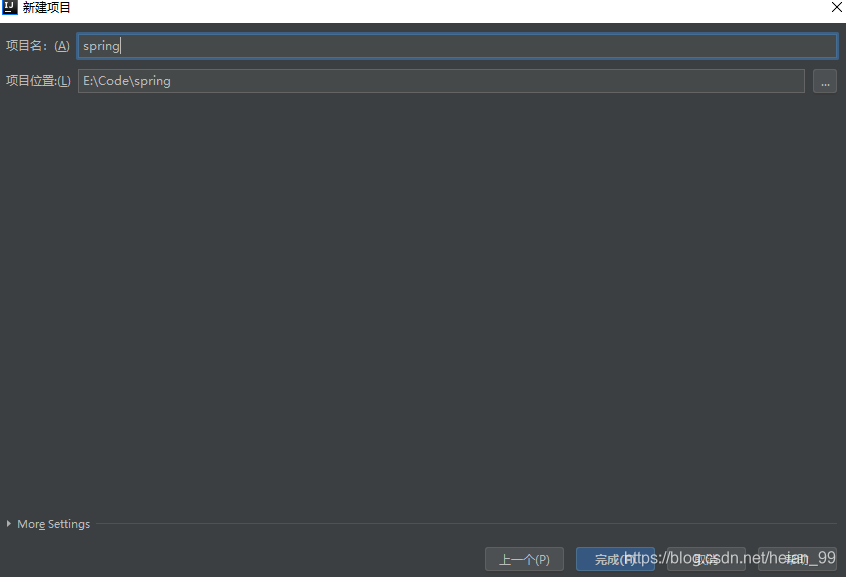
选择项目存储的位置,在点击完成就可以。此时一个Maven已经建立成功。
下面,根据自己的需求添加spring依赖和jar包
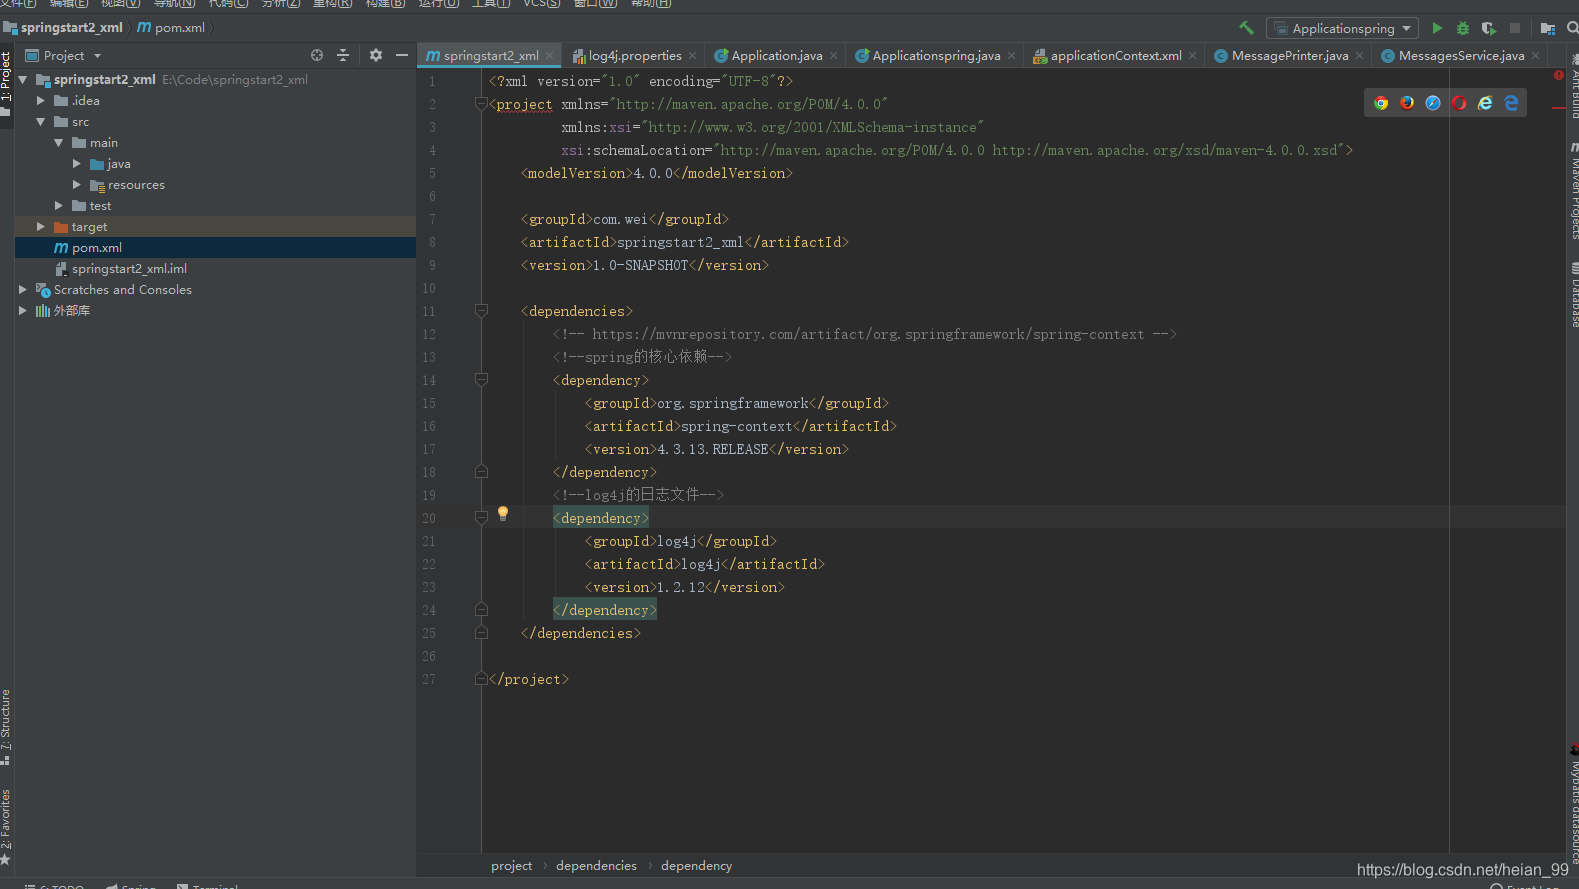
在pom.xml的文件下添加依赖
 1
 2
 3
 4
 5
 6
 7
 8
 9
10
11
12
13
14
15
|
    <dependencies>
        <!-- https://mvnrepository.com/artifact/org.springframework/spring-context -->
        <!--spring的核心依赖-->
        <dependency>
            <groupId>org.springframework</groupId>
            <artifactId>spring-context</artifactId>
            <version>4.3.13.RELEASE</version>
        </dependency>
        <!--log4j的日志文件-->
        <dependency>
            <groupId>log4j</groupId>
            <artifactId>log4j</artifactId>
            <version>1.2.12</version>
        </dependency>
    </dependencies>
|
加入这段代码,idea的右下角会出现让你导包的选项,你可以点击第一个,导入jar包
好的,现在spring的核心包已经导入,下面开始练习。
整体项目结果图
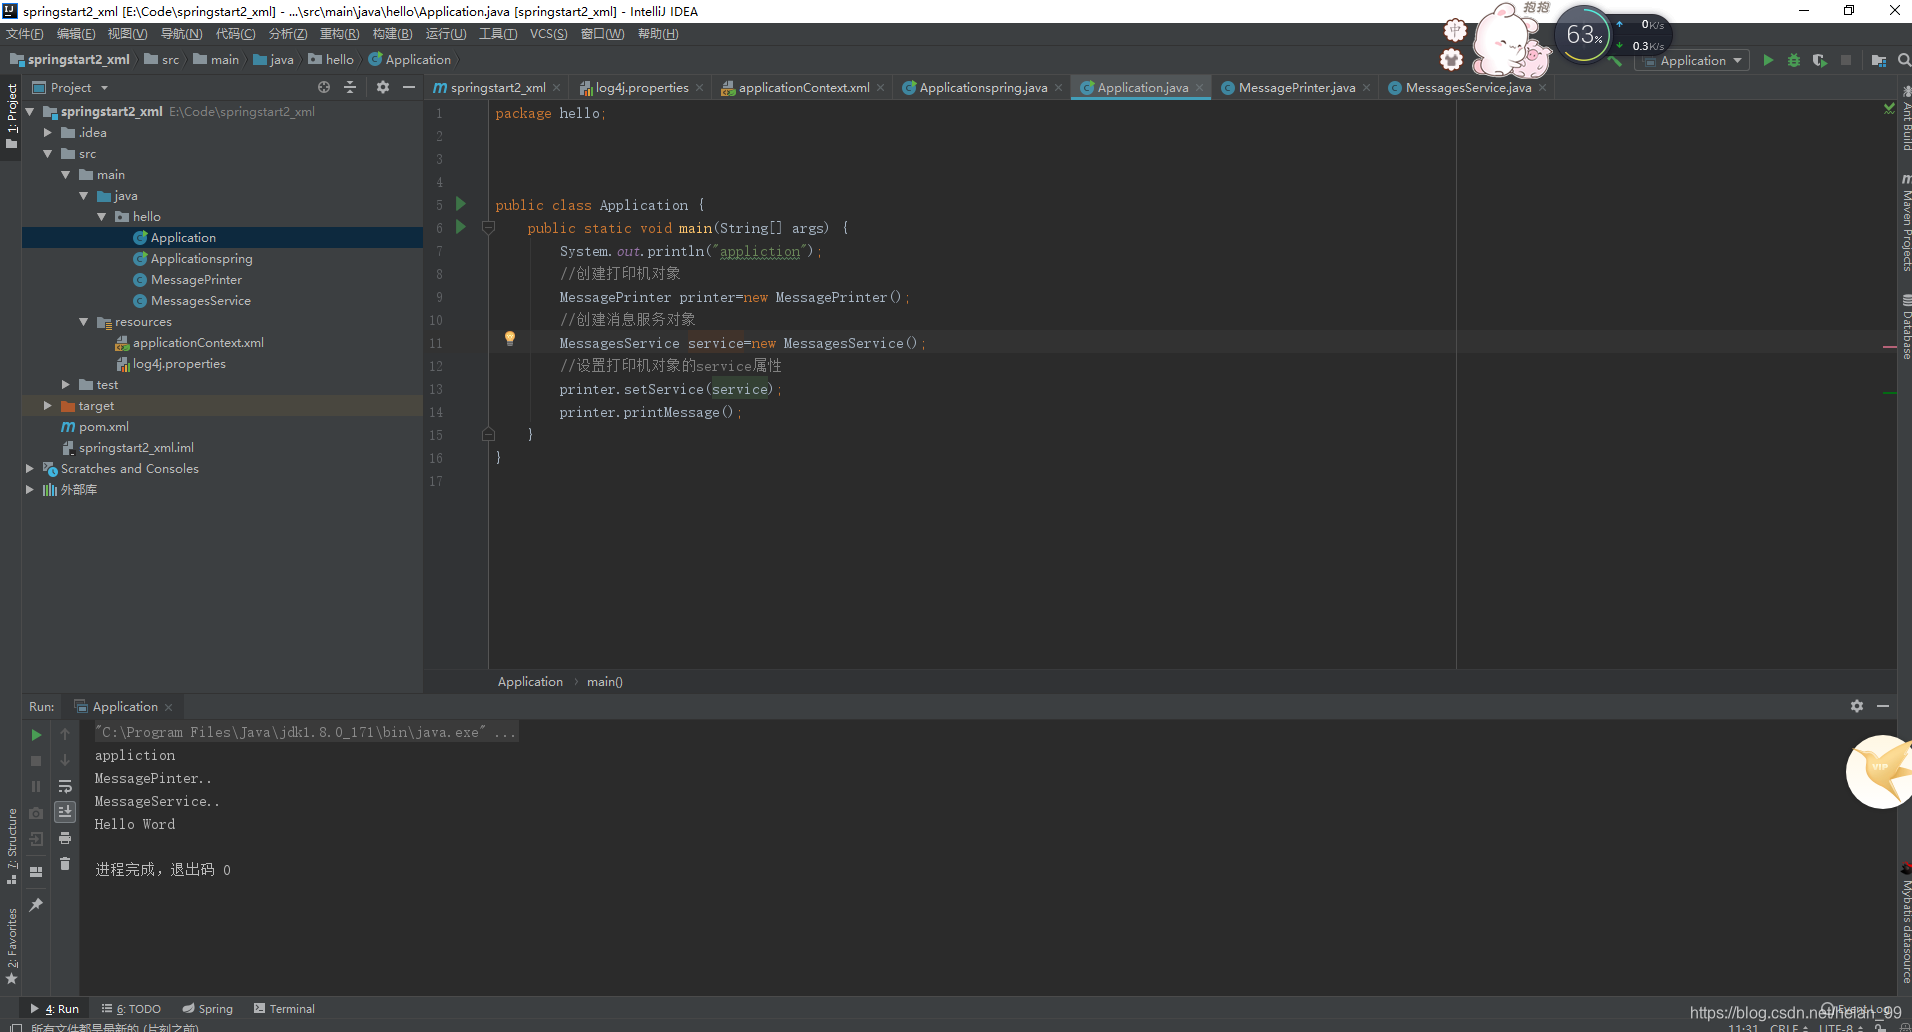
首先,建两个类
MessagesService :消息
MessagePrinter : 打印机
就是使用打印机打印消息,就这么简单。
也就是要MessagePrinter这个类调用MessagesService 类来输出消息。
MessagesService
 1
 2
 3
 4
 5
 6
 7
 8
 9
10
11
12
13
14
15
16
17
|
package hello;


/**
 * 打印
 */
public class MessagesService {
//    无参构造函数
    public MessagesService() {
        super();
        System.out.println("MessageService..");
    }

    public String getMessage(){
      return "Hello Word";
    }
}
|
MessagePrinter
 1
 2
 3
 4
 5
 6
 7
 8
 9
10
11
12
13
14
15
16
17
18
19
20
21
22
23
24
25
26
27
28
29
30
31
32
33
|
package hello;


/**
 * 打印机
 */
public class MessagePrinter {
    /**
     * 无参构造函数
     */
    public MessagePrinter() {
        super();
        System.out.println("MessagePinter..");
    }

    /**
     * 建立和MessageService的关联关系
     */
    private MessagesService service;

    /**
     * 设置service的值
     * @param service
     */
    public void setService(MessagesService service) {
        this.service = service;
    }


    public void printMessage(){
        System.out.println(this.service.getMessage());
    }
}
|
(1)使用传统的调用方法
创建Application类。
Application
 1
 2
 3
 4
 5
 6
 7
 8
 9
10
11
12
13
|
package hello;
public class Application {
    public static void main(String[] args) {
        System.out.println("appliction");
        //创建打印机对象
        MessagePrinter printer=new MessagePrinter();
        //创建消息服务对象
        MessagesService service=new MessagesService();
        //设置打印机对象的service属性
        printer.setService(service);
        printer.printMessage();
    }
}
|
点击绿色图标,点击第一个运行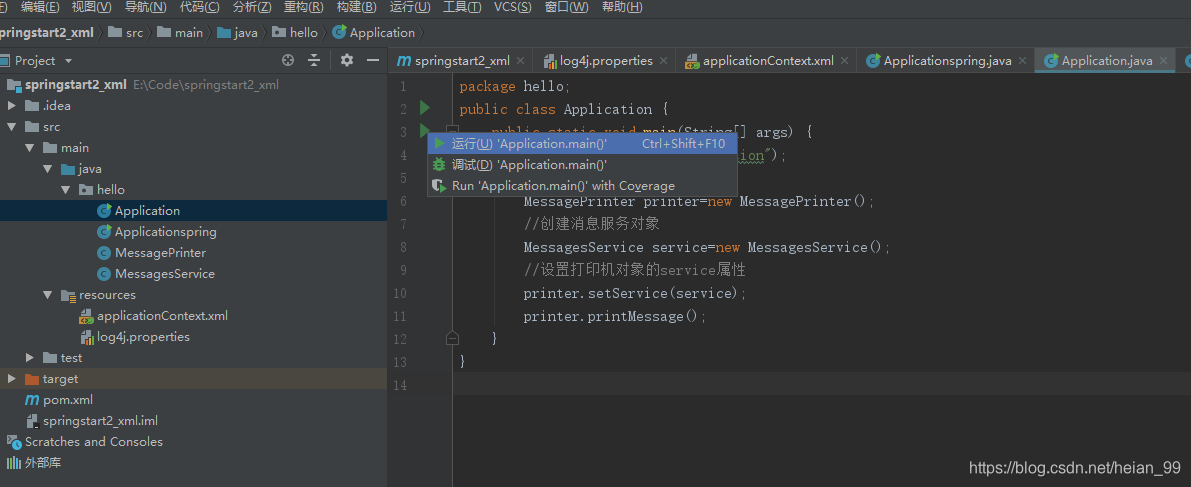
运行结构
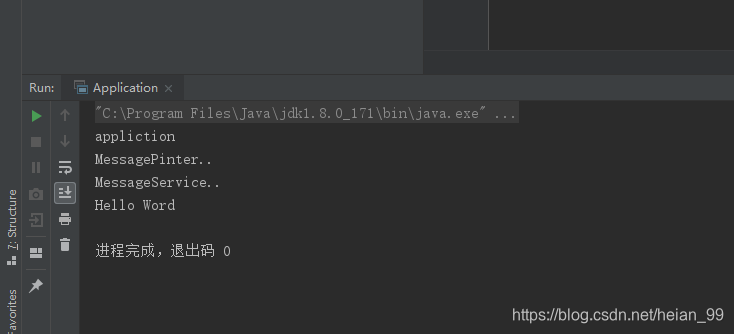
已经成功运行,并输出。
(2)spring的方法来进行调用
在resources下建立applicationContext.xml配置文件
applicationContext.xml
 1
 2
 3
 4
 5
 6
 7
 8
 9
10
|
<?xml version="1.0" encoding="UTF-8"?>
<beans xmlns="http://www.springframework.org/schema/beans"
       xmlns:xsi="http://www.w3.org/2001/XMLSchema-instance"
       xsi:schemaLocation="http://www.springframework.org/schema/beans
                        http://www.springframework.org/schema/beans/spring-beans.xsd">
    <bean id="service" class="hello.MessagesService"></bean>
    <bean id="printer" class="hello.MessagePrinter">
        <property name="service" ref="service"></property>
    </bean>
</beans>
|
在java的hello下创建Applicationspring类
Applicationspring
 1
 2
 3
 4
 5
 6
 7
 8
 9
10
11
12
13
14
15
|
package hello;
import org.springframework.context.ApplicationContext;
import org.springframework.context.support.ClassPathXmlApplicationContext;
public class Applicationspring {
    public static void main(String[] args) {
        System.out.println("applictionspring");
        //初始化spring容器
        ApplicationContext context;
        context = new ClassPathXmlApplicationContext("applicationContext.xml");
        //从容器中获取MessagePrinter对象
        MessagePrinter printer=context.getBean(MessagePrinter.class);
        printer.printMessage();

    }
}
|
点击运行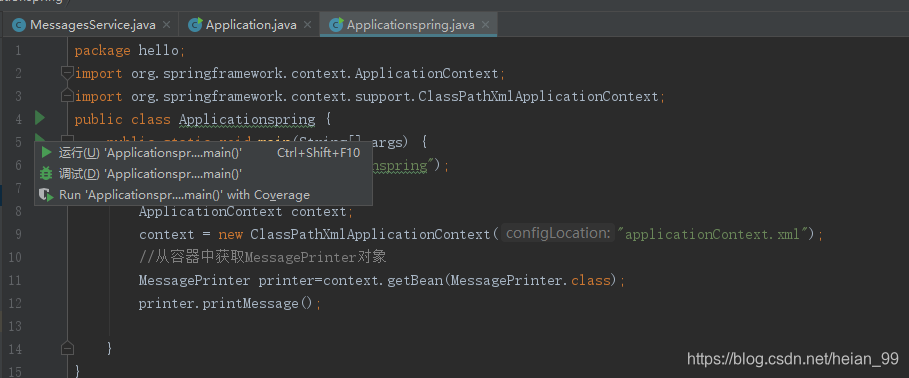
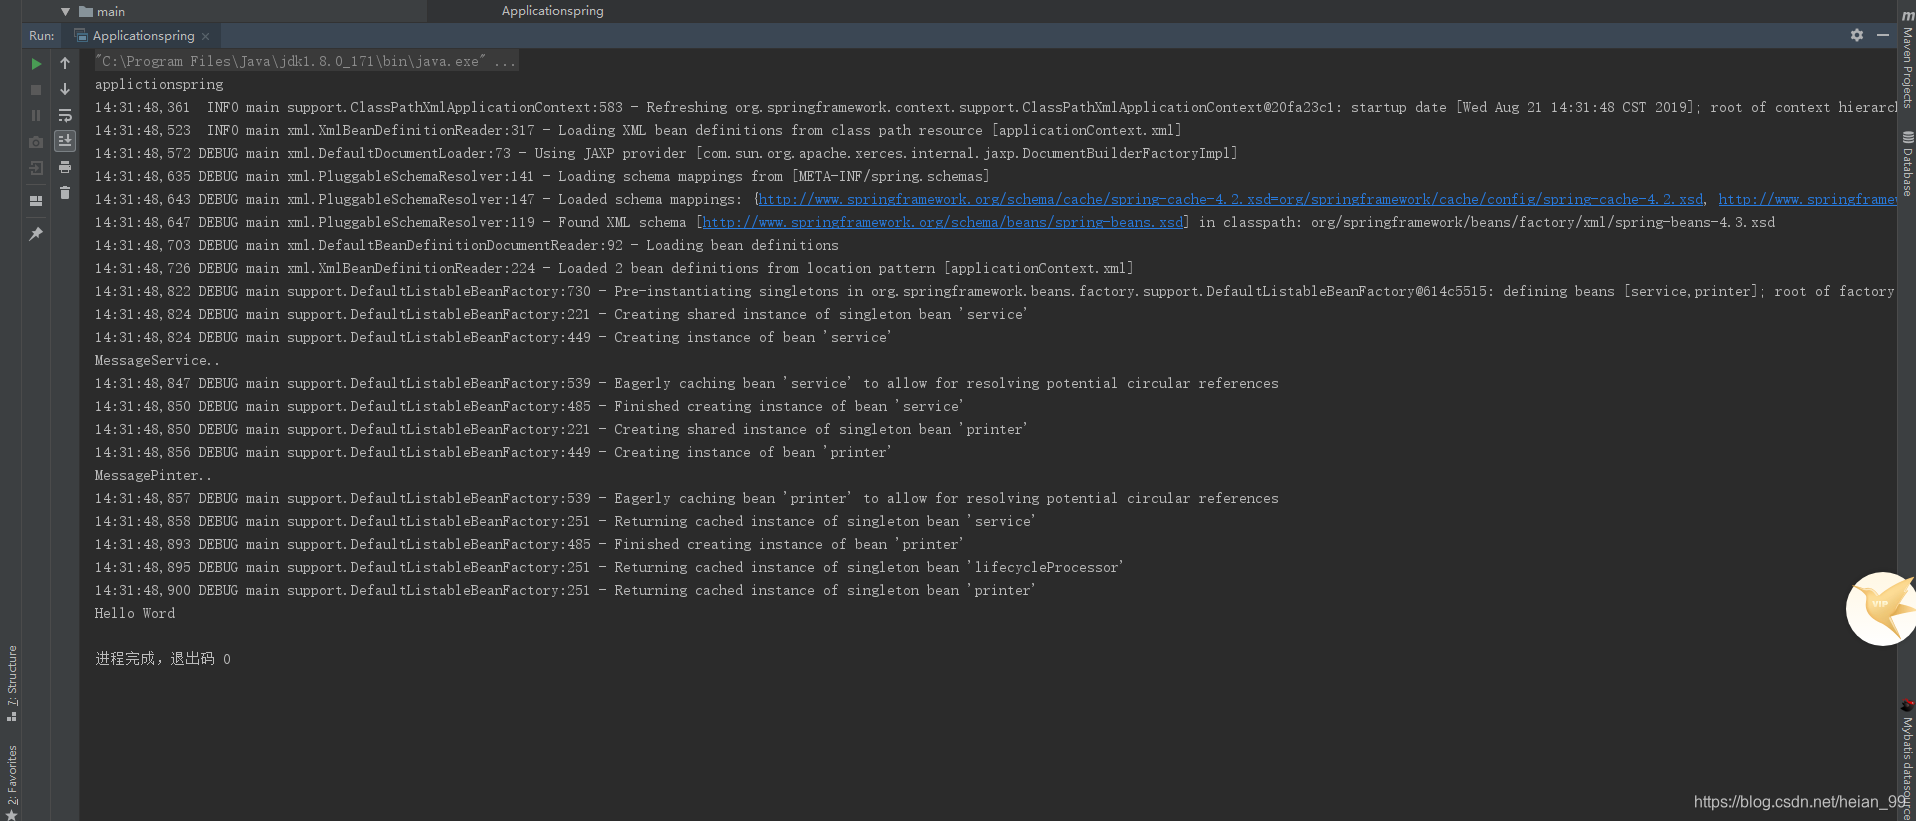
结果

(3)添加log4j.properties日志
log4j.properties
1
2
3
4
5
6
7
|
log4j.rootCategory=INFO, stdout

log4j.appender.stdout=org.apache.log4j.ConsoleAppender
log4j.appender.stdout.layout=org.apache.log4j.PatternLayout
log4j.appender.stdout.layout.ConversionPattern=%d{ABSOLUTE} %5p %t %c{2}:%L - %m%n

log4j.category.org.springframework.beans.factory=DEBUG
|
再次运行,会出现各种相关的日志
